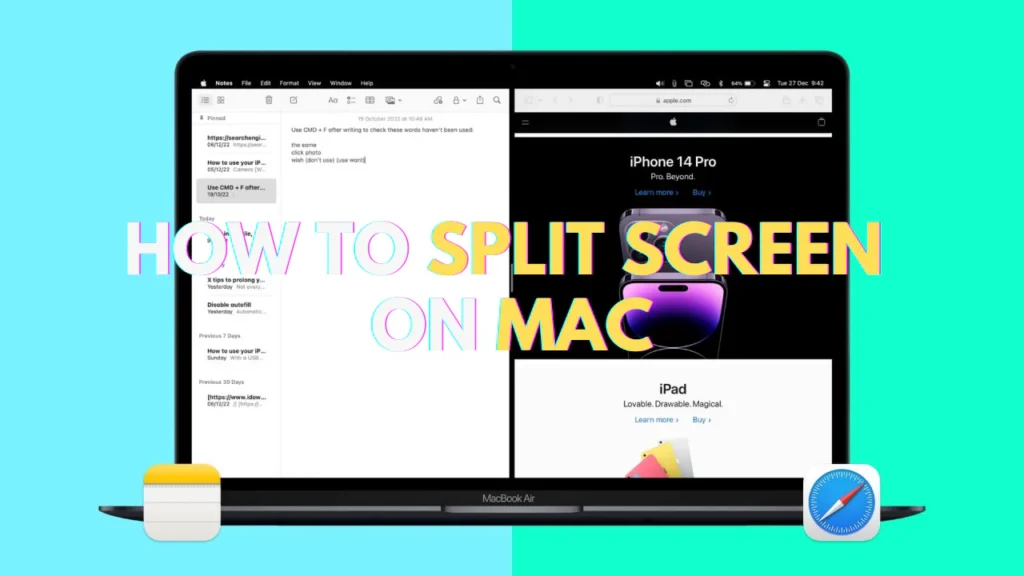
If you’re looking to boost your productivity on a Mac, using Split View is a game-changer. Split Screen allows you to work with two apps side by side, which is perfect for multitasking, whether you’re writing an email while browsing the web or managing multiple documents at once. Here’s a quick guide on how to split screen on Mac and optimize your workflow!

What is Split View on Mac?
Split View is a built-in feature on macOS that lets you run two apps simultaneously in full-screen mode. This eliminates the hassle of switching between windows and makes multitasking a breeze.
How to Split Screen on Mac: Step-by-Step Guide
Follow these easy steps to activate Split View on your Mac:
1. Open Two Apps
Start by opening the two apps you want to use side by side. For example, you might want to open Safari and Notes or Pages and Mail.
2. Enter Full-Screen Mode
To enable Split View, the apps need to be in full-screen mode. Here’s how to do it:
- Click the green full-screen button in the top-left corner of the window.
Note: Don’t just hover over the button; click and hold it to enter Split View.
3. Enter Split View
- Hold the Green Button: In the first app, click and hold the green full-screen button. You’ll see two options appear.
- Drag the App to the Left or Right: Drag the first app to the left or right side of the screen.
- Select the Second App: The other half of the screen will show thumbnails of the apps you’ve open. Click the second app you want to use.
And voila! You now have a Split View on your Mac.
How to Adjust the Split View
Once you’re in Split View, you can adjust the size of the windows. Here’s how:
- Drag the Divider: Hover over the vertical divider between the two apps. Click and drag it left or right to adjust the size of the windows.
- Maximize Windows: You can adjust the divider to make one window larger while keeping the other smaller, depending on what you need.
Exiting Split View
When you’re done with Split View and want to return to the normal desktop:
- Exit Full-Screen Mode: Hover over one of the app’s full-screen buttons in the top-left corner and click it to exit full-screen mode.
- Escape Split View: Alternatively, you can use Mission Control (swipe up on your trackpad or press F3) to see all open windows and then click on the window you want to return to.
Additional Tips for Split View on Mac
1. Use the Keyboard Shortcut
- Control + Command + F can quickly toggle full-screen mode on or off for the app you’re working with.
- This can be helpful if you’re constantly moving between Split View and regular windowed mode.
2. Use Multiple Desktops
If you need even more multitasking space:
- Mission Control allows you to create multiple desktops. You can have different Split View setups on each desktop and easily switch between them by swiping left or right with three fingers on the trackpad.
3. Snap Windows with Magnet App
While macOS does a great job with Split View, if you want even more customization (like 3-way split or additional window management), consider installing third-party apps like Magnet. This allows you to snap windows to different sections of your screen, giving you greater flexibility.
Why Split Screen is a Game-Changer
Efficiency: Split View reduces the need to constantly switch between apps, making it easier to focus on multiple tasks at once.
Organization: Keep your desktop clean and organized with two full-screen apps, reducing window clutter.
Convenience: Whether you’re working on a research paper, managing emails, or tracking a project in a spreadsheet, Split View simplifies the multitasking experience.
Conclusion
Splitting the screen on your Mac is a great way to enhance productivity and manage multiple tasks simultaneously. With these simple steps, you’ll be able to multitask like a pro in no time. Try Split View today and experience the difference in your workflow!

